In this guide, I’ll walk you through exactly how to replace bathroom faucet, step-by-step. No confusing jargon. No skipped steps. Just practical advice to help you get the job done and feel good doing it.
Are you staring at that dripping, outdated bathroom faucet and wondering how hard could it be to replace it yourself? Maybe you’re tired of calling the plumber for every little fix. Or perhaps, you’re dreaming of a sleek, new fixture that finally matches the vibe of your bathroom.
Whatever brought you here—saving money, adding style, or simply the thrill of doing it yourself—you’re in the right place.
Why Replace a Bathroom Faucet?
Before we dive into the how, let’s talk about the why. Knowing your “why” can turn a frustrating DIY into a satisfying victory.
- 💧 That leak isn’t going away. Leaky faucets waste water and money.
- 🎨 Style upgrade. A new faucet can refresh your bathroom’s whole look.
- 💪 DIY confidence boost. Mastering small projects like this builds real skills.
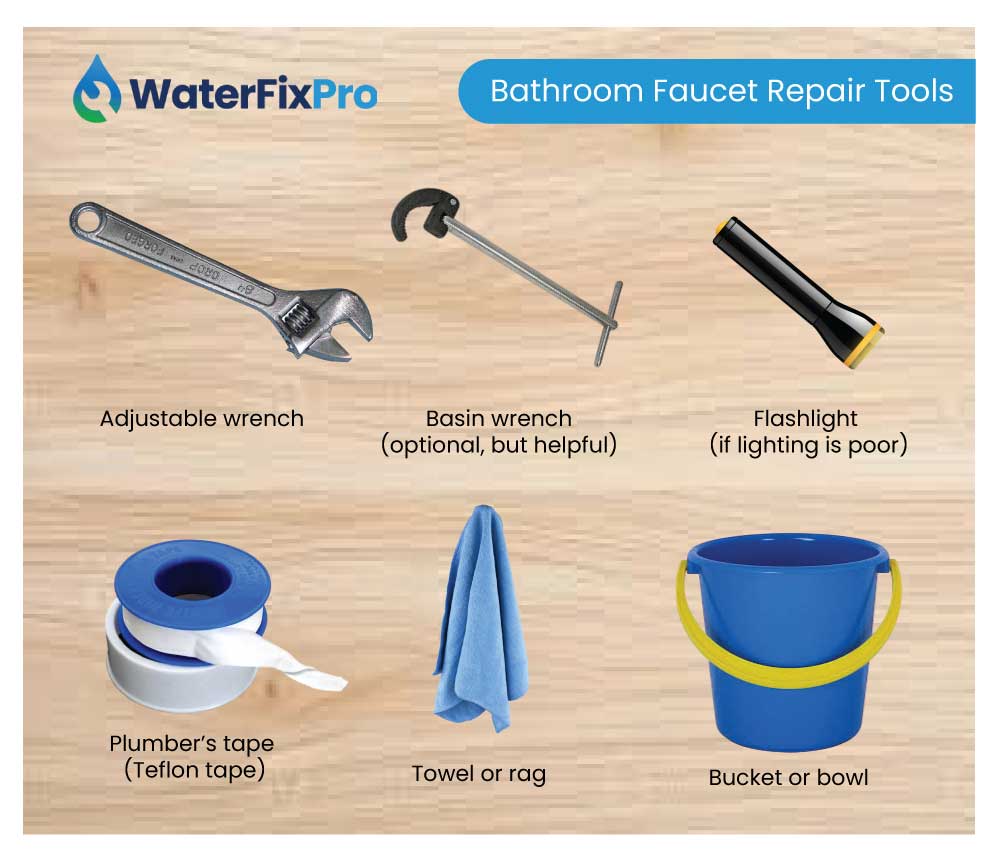
What You’ll Need
Let’s keep it simple. Here’s a checklist of the tools and supplies you’ll need:
Tools:
- Adjustable wrench
- Basin wrench (optional, but helpful)
- Plumber’s tape (Teflon tape)
- Bucket or bowl
- Towel or rag
- Flashlight (if lighting is poor)
Supplies:
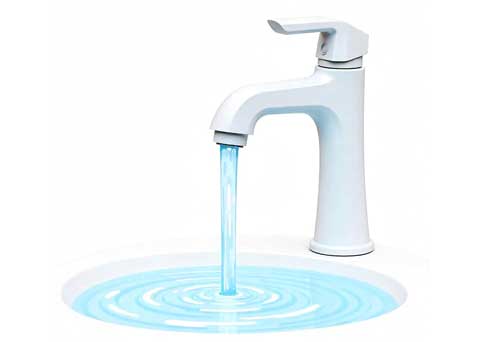
- New bathroom faucet (check compatibility with your sink)
- Silicone sealant or plumber’s putty (depending on manufacturer instructions)
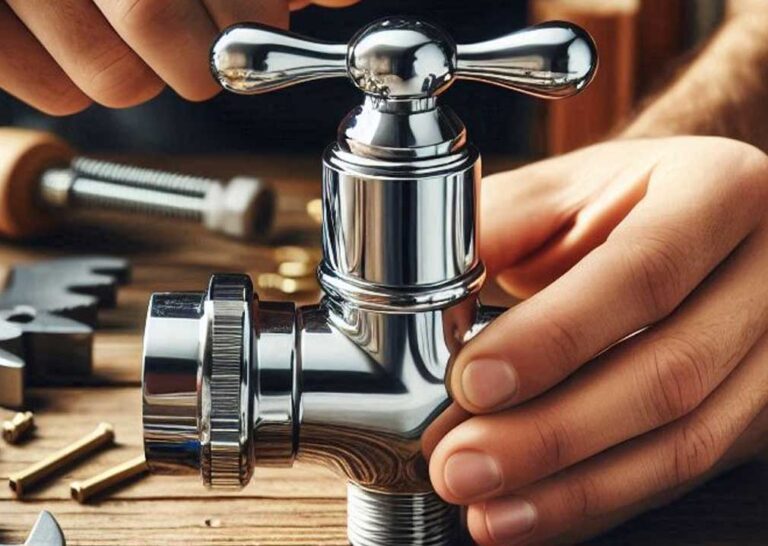
Step-by-Step: How to Replace Bathroom Faucets
1. Turn Off the Water Supply
Locate the shutoff valves under your sink. Turn them clockwise to stop the flow of water. Turn on the faucet to release any remaining water and relieve pressure.
🛑 Pro tip: If the valves are stuck, gently use your wrench—but don’t force it too hard.
2. Disconnect the Water Lines
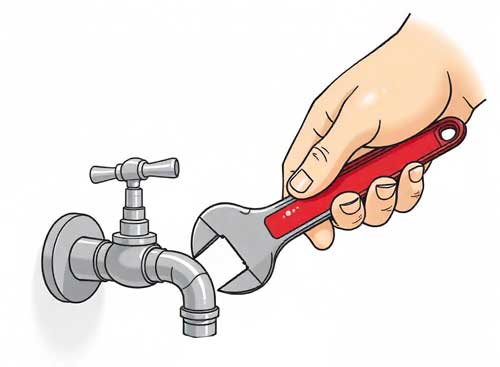
Place a bucket or towel under the faucet to catch drips. Use your wrench to loosen the nuts connecting the water lines to the faucet. Remove both hot and cold lines.
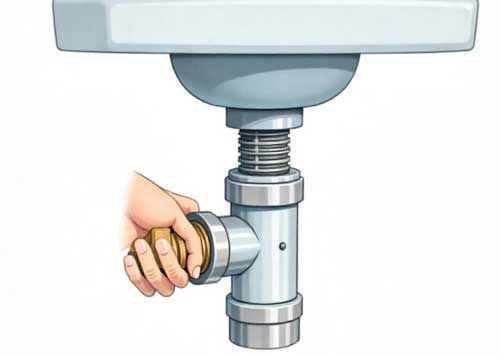
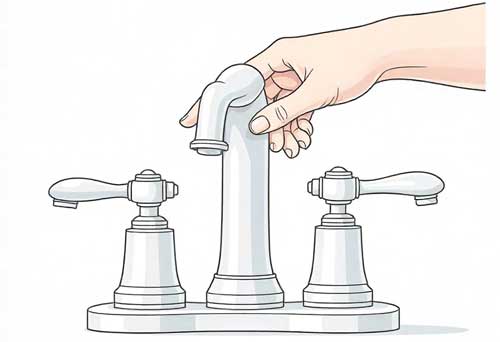
3. Remove the Old Faucet
From underneath the sink, unscrew the mounting nuts holding the faucet in place. You might need a basin wrench for tight spaces. Once loosened, lift the old faucet straight up and out.
Heads-up: You might find gunk or mold underneath. Wipe the surface clean before installing the new faucet.
4. Install the New Faucet
Follow the instructions provided with your new faucet. Generally, you’ll:
- Place a gasket or apply plumber’s putty under the base.
- Insert the faucet through the mounting holes.
- From below, tighten the mounting nuts.

Optional: Apply a bead of silicone around the base for a cleaner, watertight seal.
5. Reconnect the Water Lines
Wrap plumber’s tape around the threads of the faucet connections. Then reconnect the hot and cold supply lines to the matching valves.
Double-check for correct hot/cold sides—you’d be surprised how many people mix them up!
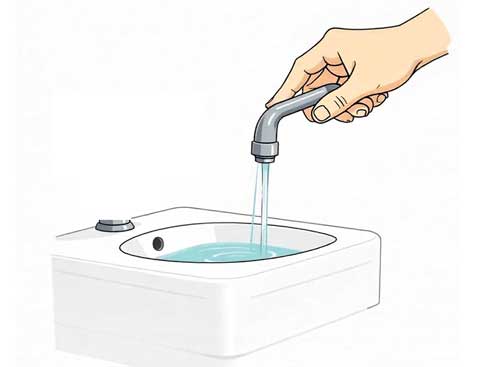
6. Turn On the Water & Test
Slowly turn the shutoff valves back on. Then, turn on the faucet. Check for:
- Leaks around the base or underneath
- Proper water flow
- Hot and cold sides working correctly
You Did It!
Replacing your bathroom faucet may have felt intimidating at first—but now you’ve tackled it like a pro.
✅ You saved money.
✅ You learned something new.
✅ You made your space look and feel better.
So go ahead, take a photo of that shiny new faucet. Share it with friends. Celebrate your DIY win.
Final Tips
- If your sink is very old or corroded, replacing the faucet may be trickier. Don’t hesitate to call in help if needed.
- Always follow your new faucet’s manufacturer instructions—designs vary.
- Keep your tools organized. You’ll probably be using them again!