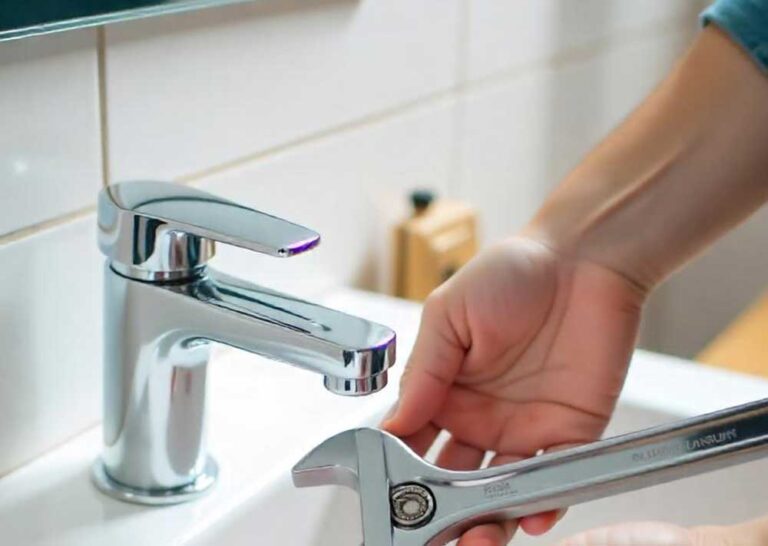
A leaky faucet isn’t just annoying—it can waste hundreds of gallons of water a year and increase your utility bill. The good news? You don’t need to be a plumber to fix it.
In this step-by-step guide, you’ll learn how to fix a leaky faucet in under 30 minutes using a few simple tools. Whether your kitchen faucet drips or your bathroom tap won’t stop leaking, this DIY tutorial has you covered.
Step 1: Identify the Type of Faucet You Have
Not all faucets are built the same, and the repair method depends on the type.
There are four main types of faucets:
- Compression – Has two handles (hot and cold). Common in older homes.
- Cartridge – Moves up/down and left/right. Often found in modern bathrooms.
- Ball – Usually a single handle. Common in kitchen sinks.
- Ceramic Disc – Also single handle. Durable and high-end.

Why it matters: The type of faucet determines which parts might be worn out (washer, O-ring, cartridge) and how to disassemble it.
Step 2: Gather the Right Tools and Replacement Parts
Before you start fixing the leak, gather the following tools:
- Adjustable wrench
- Phillips and flathead screwdrivers
- Plumber’s tape (Teflon tape)
- Replacement washers, O-rings, or cartridges (based on faucet type)
- Towel or rag
- Small bowl (to hold tiny parts)
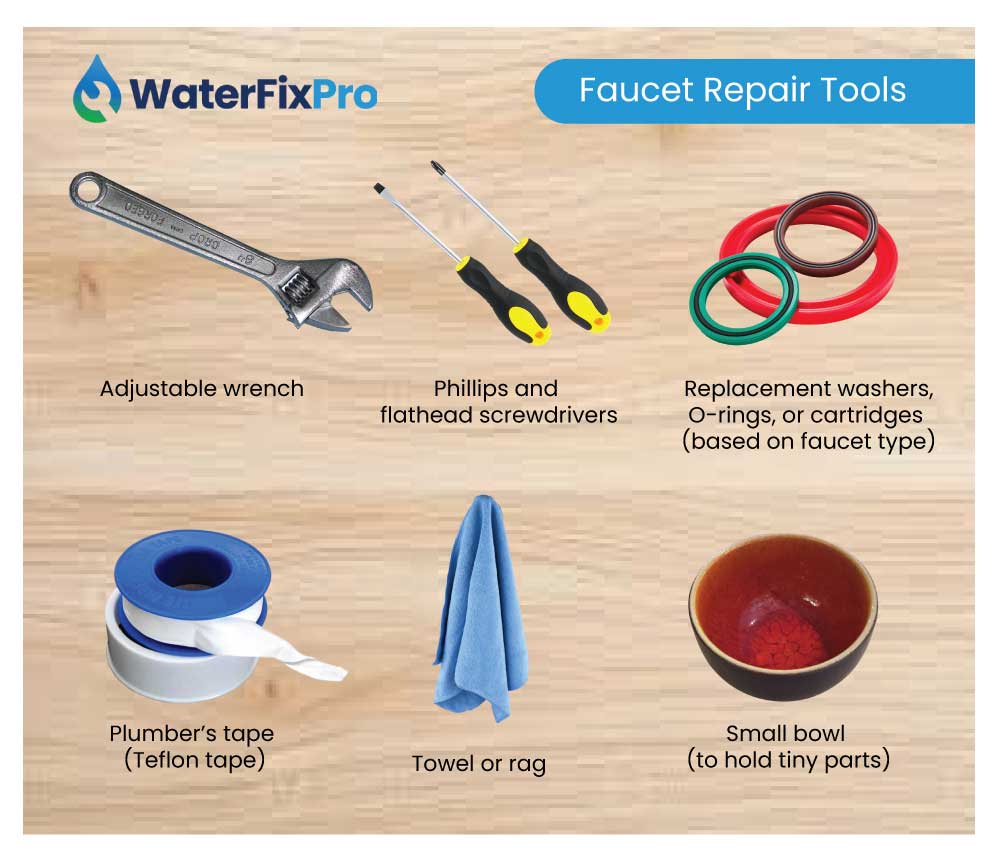
💡 Pro Tip: Take the old part to a hardware store to find an exact replacement.
Step 3: Turn Off the Water Supply and Prep the Area
This is the most crucial safety step!
- Look under your sink for shut-off valves (usually two: hot and cold).
- Turn both valves clockwise to shut off the water supply.
- Open the faucet to release pressure and drain water from the lines.
- Place a towel or rag in the sink to catch small parts and prevent scratches.
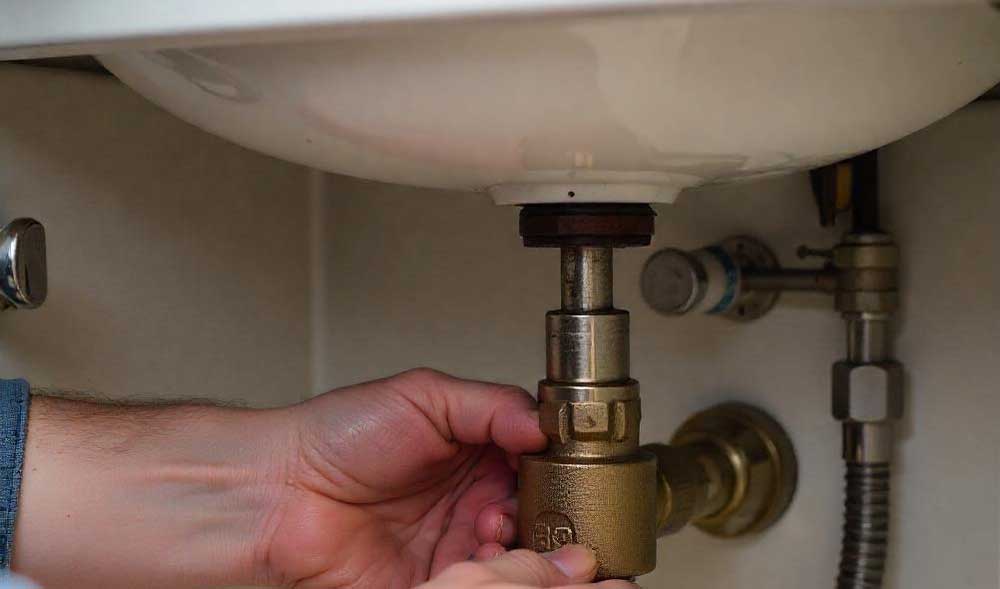
🔧 Optional: Put a bucket underneath in case any water remains in the pipes.
🔎 Step 4: Disassemble the Faucet and Inspect for Damage
Now the fun begins.
- Use a flathead screwdriver to pry off the decorative cap on the faucet handle.
- Unscrew the handle and gently remove it.
- Use your wrench to loosen and remove the packing nut.
- Pull out the valve stem or cartridge (depends on faucet type).

What to look for:
- Worn-out washer or O-ring (usually the cause in compression faucets)
- Damaged cartridge or seals (in cartridge or ceramic disc faucets)
- Corrosion or mineral buildup
Step 5: Replace the Faulty Parts and Reassemble
Once you’ve identified the issue:
- Replace the worn washer, O-ring, or cartridge.
- Apply plumber’s tape to threads if needed to prevent future leaks.
- Reassemble everything in reverse order:
- Insert the stem or cartridge
- Tighten the packing nut
- Reattach the handle and cap
- Turn the water valves back on slowly and test the faucet.
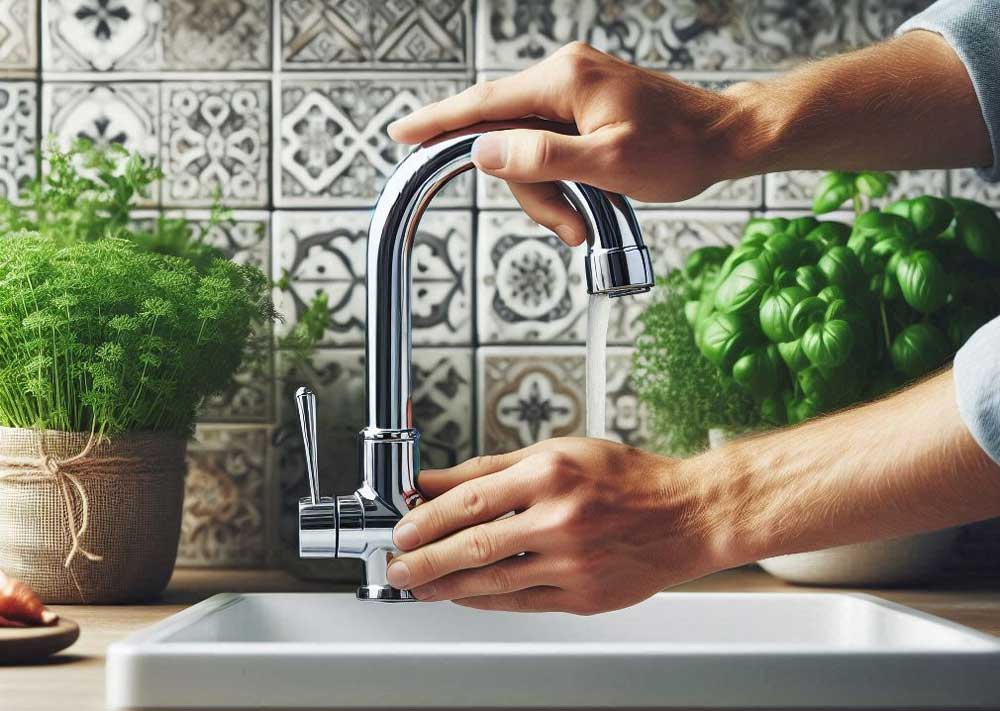
✅ Success! No more drip. If it’s still leaking, recheck your assembly or consider replacing the entire faucet.
Bonus Tips: Prevent Future Leaks
Keep your faucet in great shape with these quick habits:
- Don’t overtighten handles—this wears out the washers.
- Clean the aerator once a month to prevent mineral buildup.
- Inspect the faucet annually for early signs of wear.
🛒 Recommended Products
Here are some top-rated tools and kits to make the job even easier:
- Best-Selling Adjustable Wrench – Amazon
- Universal Faucet Repair Kit – Amazon
- Leak-Proof Plumber’s Tape – Amazon
These affiliate links help support our content at no extra cost to you.
Conclusion
You just learned how to fix a leaky faucet like a pro—with no plumber, no high costs, and no more dripping!
Take action today and stop that leak before it costs you more water and money.